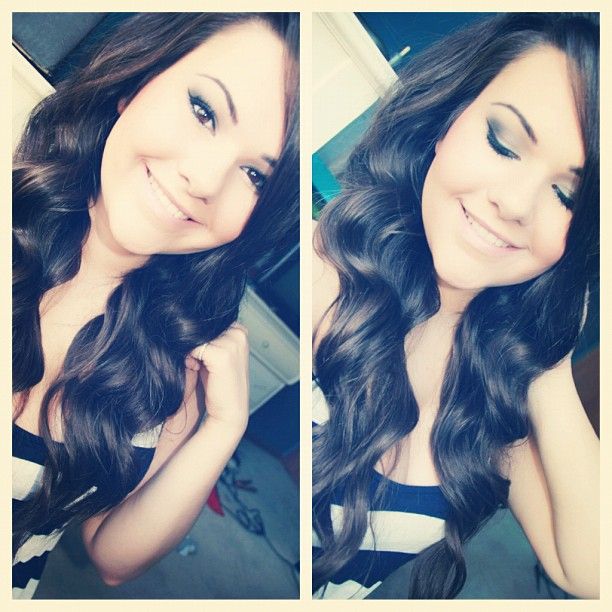
This hairstyle is very quick and easy to do. It takes me less than 15 minutes to do my entire head! This is also a versatile hairstyle as well because it's glamorous enough for a night out, but you can also make it look very beachy if you add a sea salt or texturizing spray!
I'll be using the largest of the three wands that comes with this curling wand for this, which is 25mm.
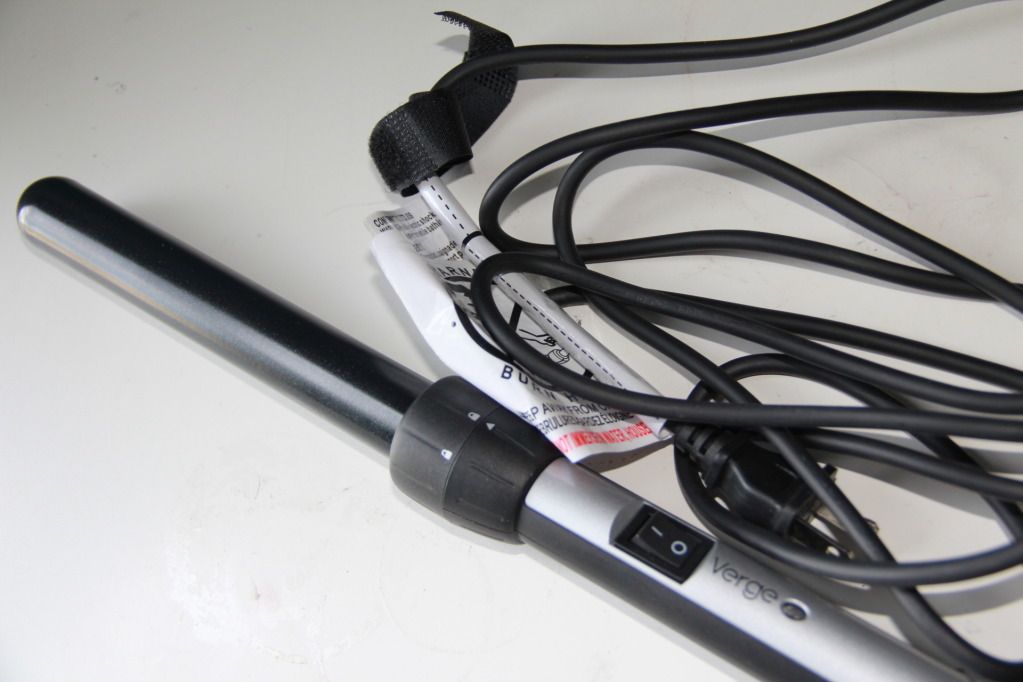
Keep reading to see how I achieved this hair style!
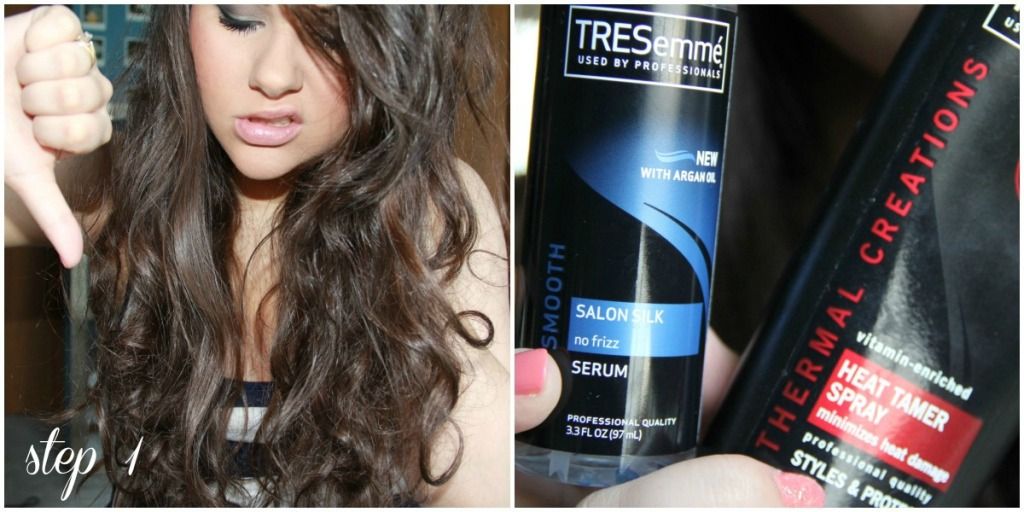
Step 1: For this look, you can decide how you want to have your hair before curling. I would normally straighten my hair before to eliminate frizz and have more sleek waves, but since I'm trying to cut back on heat, I began with my hair in its natural state, after being air dried. As you can see, it's a hot mess before I do anything to it. This is also before it was brushed. I start off by applying a frizz serum and a heat protectant. I used Tresemme` Salon Silk with Argan Oil and Tresemme`Heat Tamer Spray.
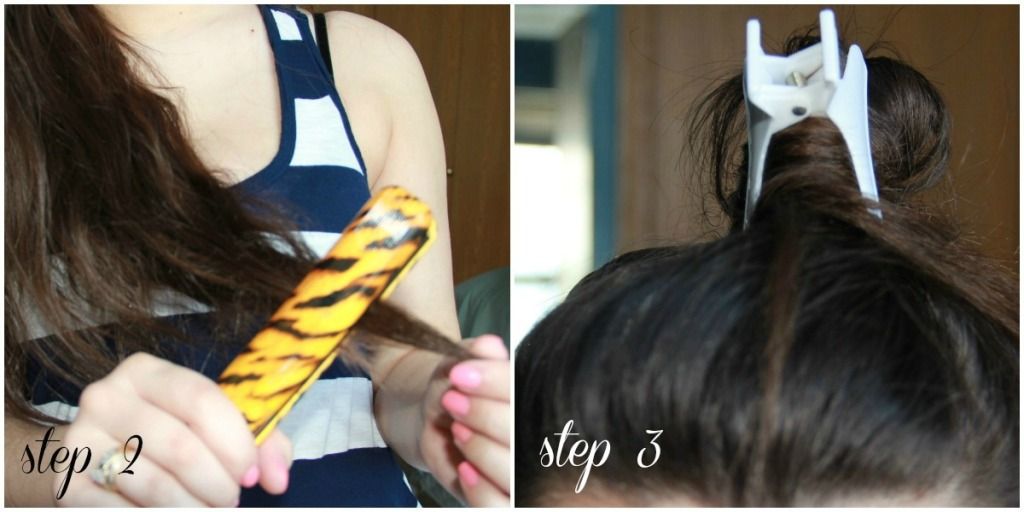
Step 2: Because I'm going for waves rather than curls, I like the ends of my hair to be straight, which they are not since I started out with naturally curly hair. I took my flat iron and straightened the ends of my hair. I also ran the flat iron over my bangs.
Step 3: Next, I section off my hair by taking all hair from the crown of my head up and clip it up using a butterfly clip.
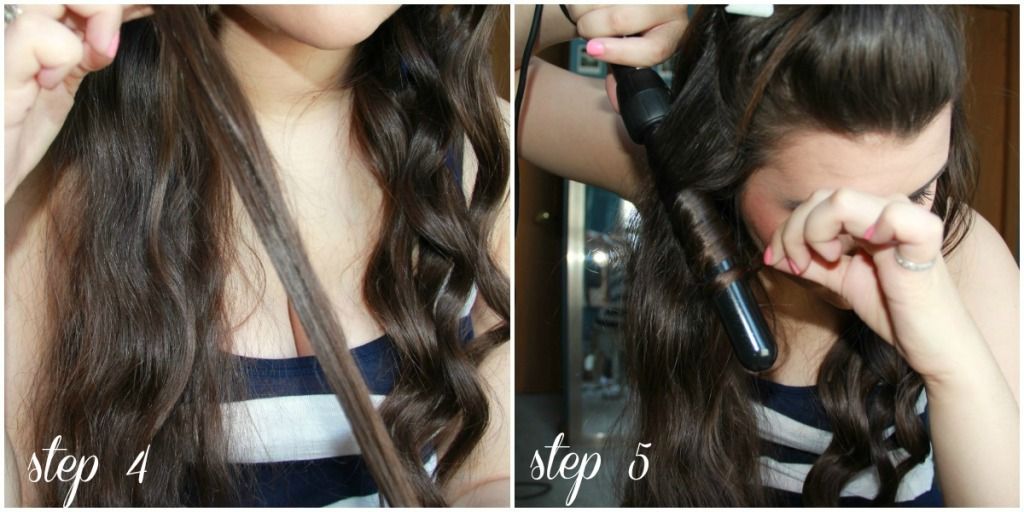
Step 4: I'm going to be taking a 1-inch section of hair for each curl so that I end up with a wavier curl. If you want a tighter curl, use less hair. If you want looser curls, use more hair.
Step 5: Next, by holding the curling wand upside down, I wrap the section of hair around the barrel, leaving a half inch section out at the ends of my hair. If you're prone to burning yourself, make sure you put on your heat resistant glove prior to this step. Hold for 5-15 seconds. I held mine for 10 seconds. The longer you hold it on the curling wand, the tighter the curl will be. If you hold it for less time, the curls will be looser.
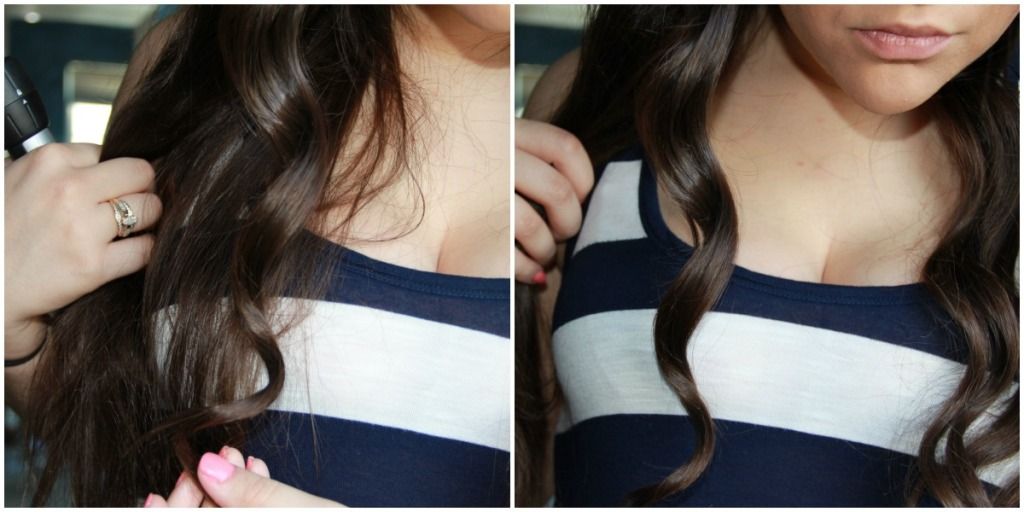
This is what the curl should look like afterwards.
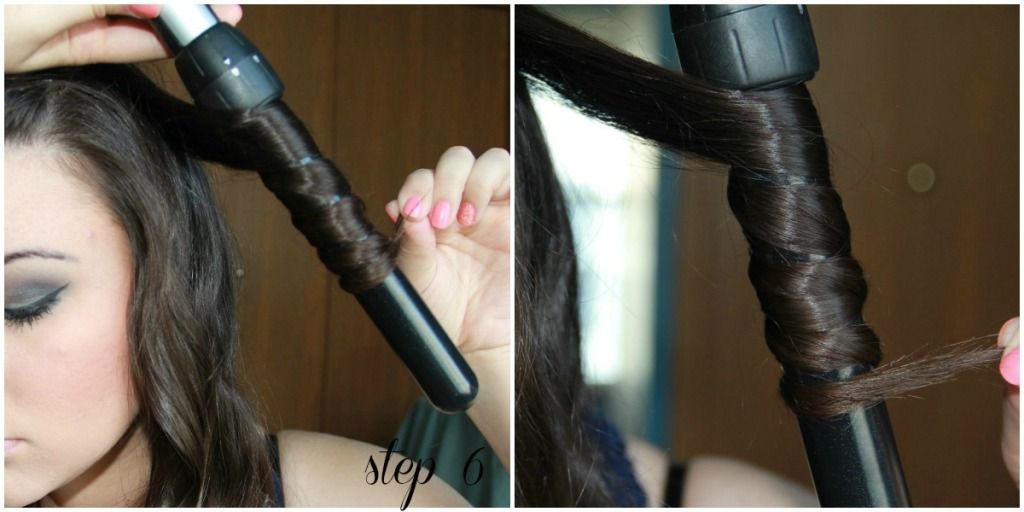
Step 6: When I get to the top half of my head, I'm going to do the same thing that I did in step 5, but this time I'm going to begin the curl a couple inches down from the top of my head. Do this to the remaining hair.
Step 7 (not shown): After I finished curling my hair, I teased the crown of my head using a teasing comb and Garnier Fructis Anti-Humidity Hair Spray in Extreme Hold.
And you're finished!
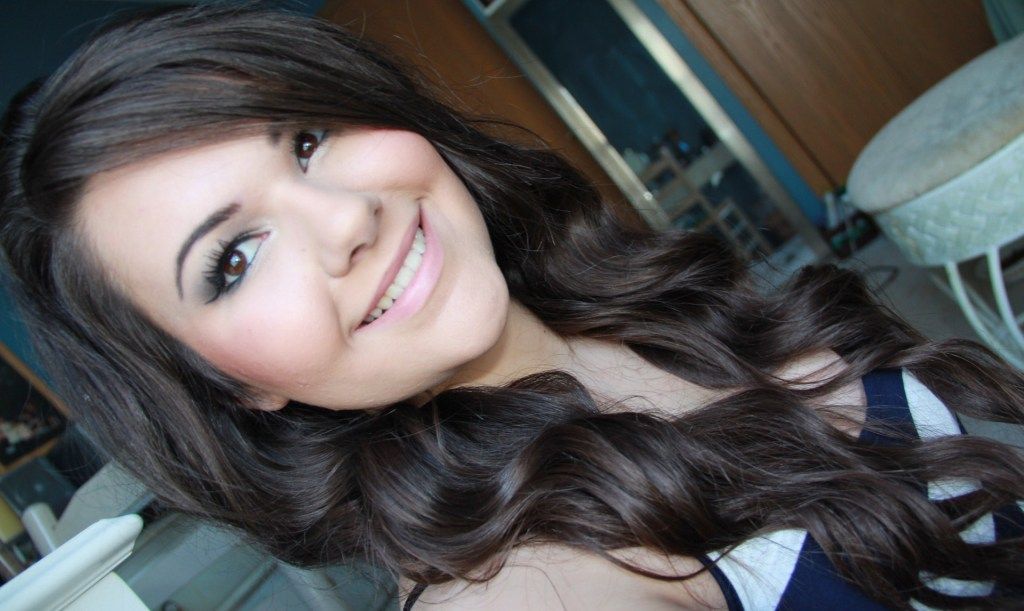
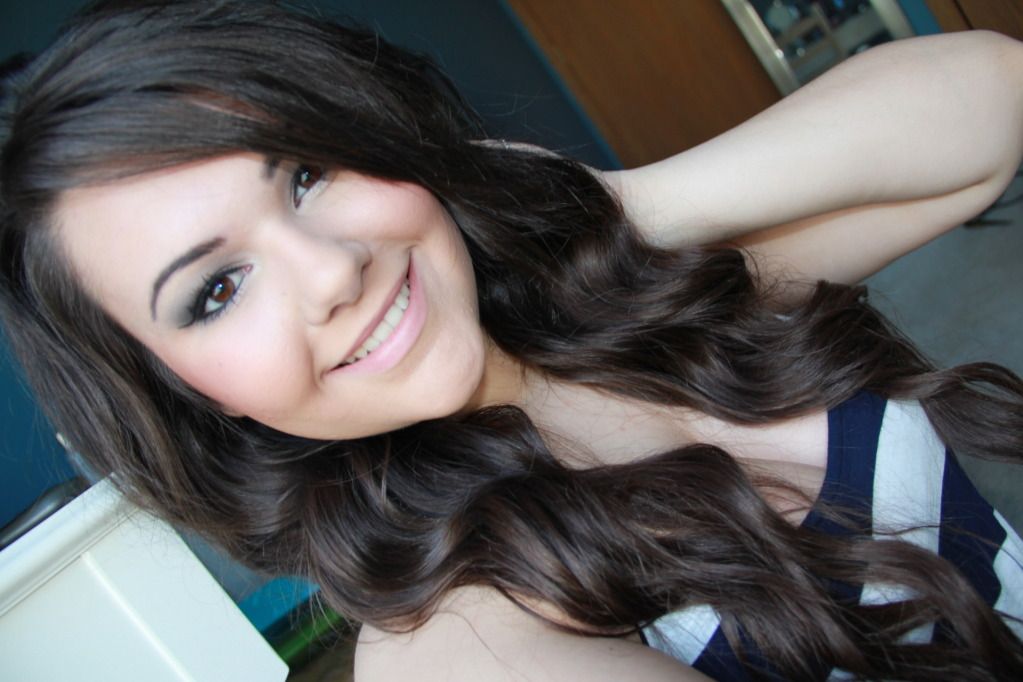
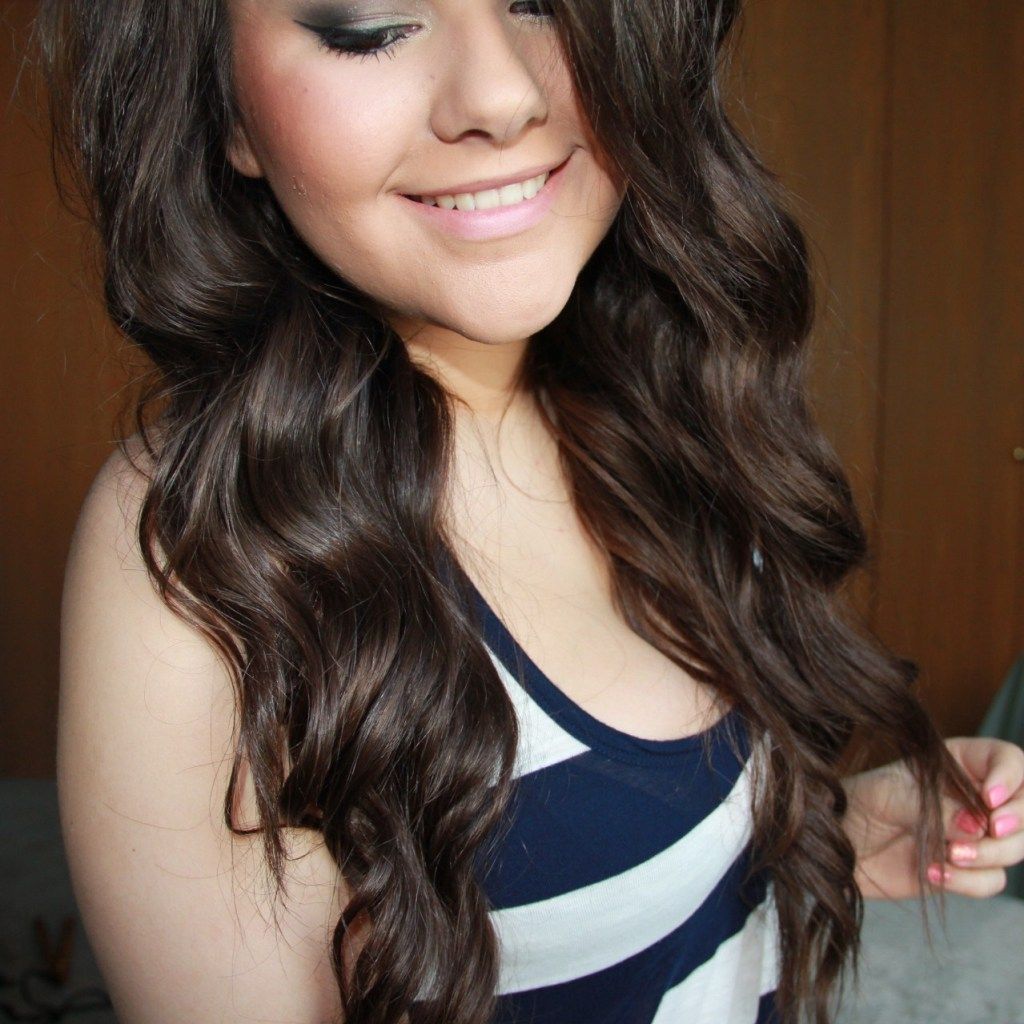
I hope you all enjoyed this! Let me know if you'd like to see any more hair tutorials in the future. Also, if you have any questions regarding my hair or about anything else, don't hesitate to ask in the comments below!


